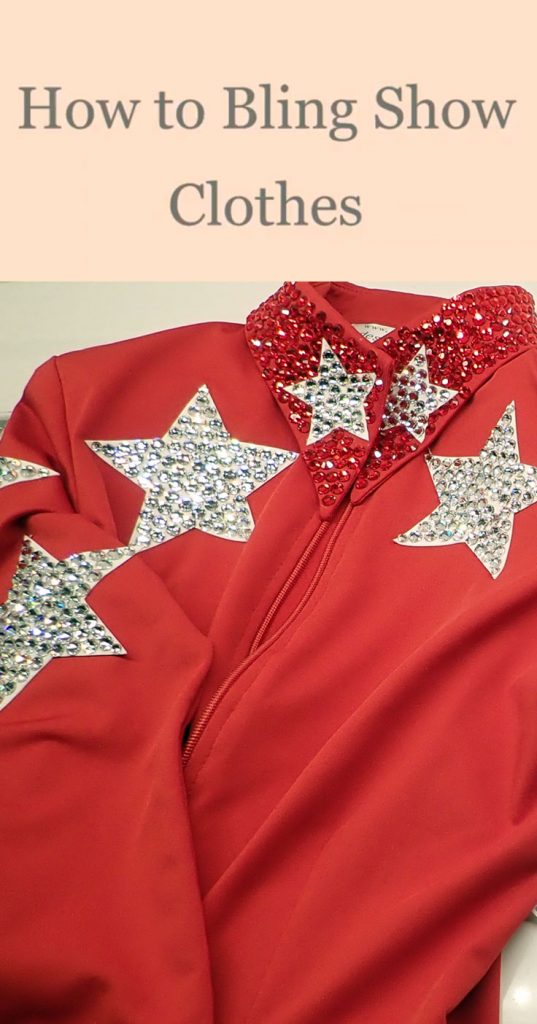
There’s a lot of trial and error to be had when you figure out how to bling show clothes, so we’ve decided to provide a tutorial and instructions so you can skip straight to success!
Story Behind the Supplies
I used to apply crystals using bent end tweezers and would dip the crystal in glue then apply it, one by one. It worked. It also was painful.. it took FOREVER! At the American Miniature Horse Association World Championship show earlier this year I saw a vendor working on a shirt using some amazing tools, so that’s the process covered here. I’ve linked to the vendors and tools I purchased in the supplies section. The shirt I’m blinging in the video is a custom made one by Show Off Designs. That said, there are plenty of shirts available off the rack or on eBay that are great for blinging!
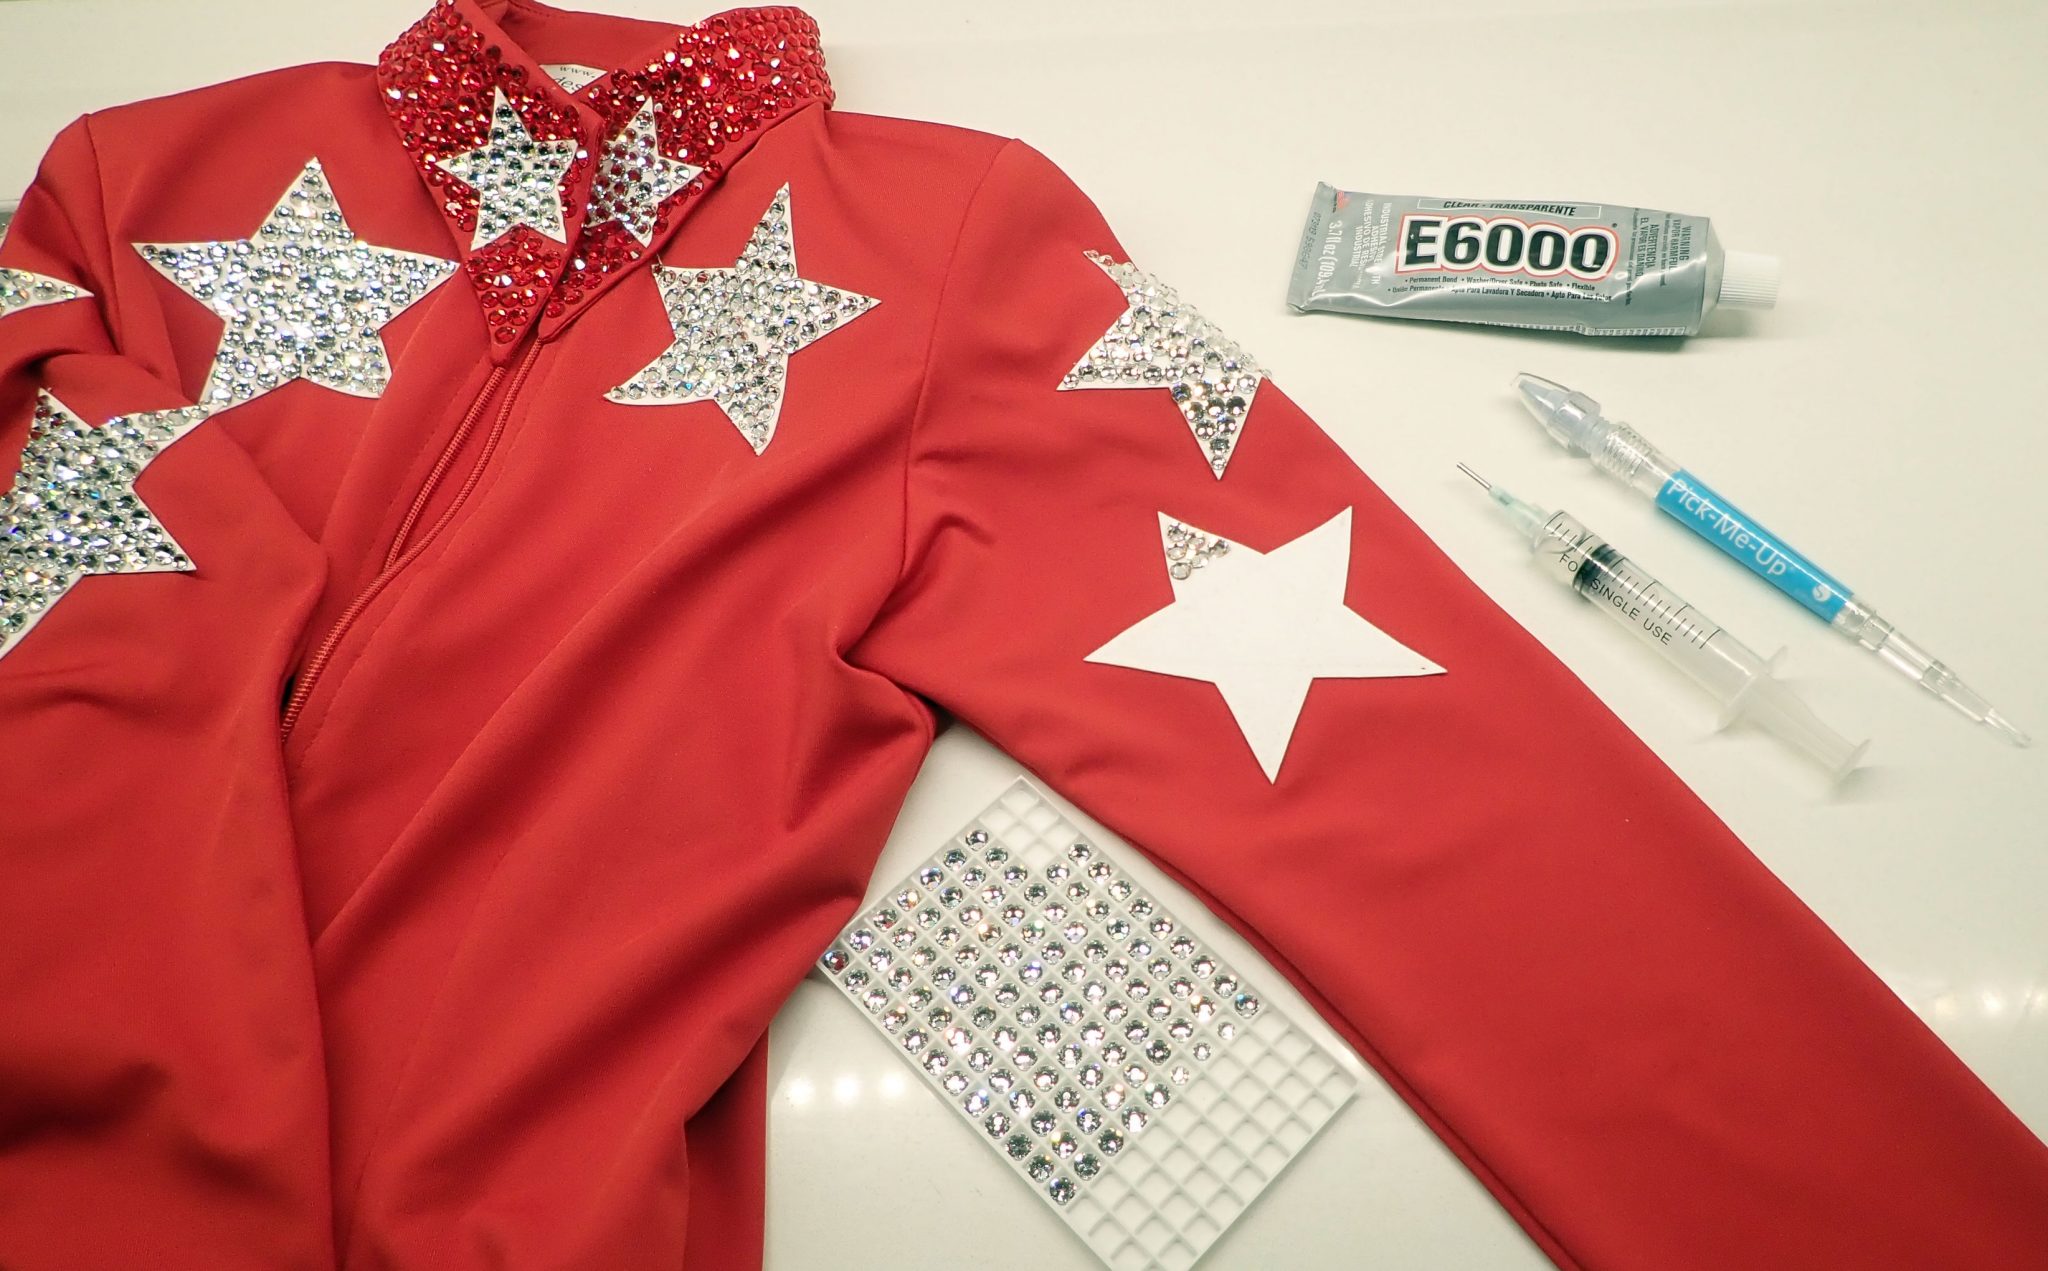
The syringe recommendation came from some trial and error. For my first purchase, I bought small squeeze bottles with even smaller gauge blunt tip needle caps. I thought they looked like what I saw the vendor using, but when I got them the opening was too small to get the thick E6000 through, and the needle tip was too fine as well. The syringes I’ve linked below though work well. Whatever you use, I wouldn’t recommend getting a blunt tip needle much smaller (higher number) than 14 gauge for E6000. The smaller the gauge number, the bigger the needle circumference and more glue will come out quickly.
For glue, I always use E6000. It’s what the pros use and does not disappoint! A good tip to keep your glue in working order is to run vaseline around the threads of the opening to the glue bottle the first time you open it. This will keep the sometimes stringy glue from sticking and gluing the lid shut! The glue is VERY strong and has toxic fumes, so be sure to use it only in a well-ventilated area.
For rhinestones, I ordered this time from Dreamtime Creations, but I also sometimes pick up stones at M&J Trimmings. The stones used in the video are Swarovski Xirius Rose 2088 flatbacks (style) SS30 (size) in crystal and light siam (colors). I’ve also used the same style and colors but sized SS20 on this shirt to fill in when there are gaps SS30s are too big to fill. The opposite of needle gauges, with rhinestone sizes, the smaller the number, the smaller the size crystal.
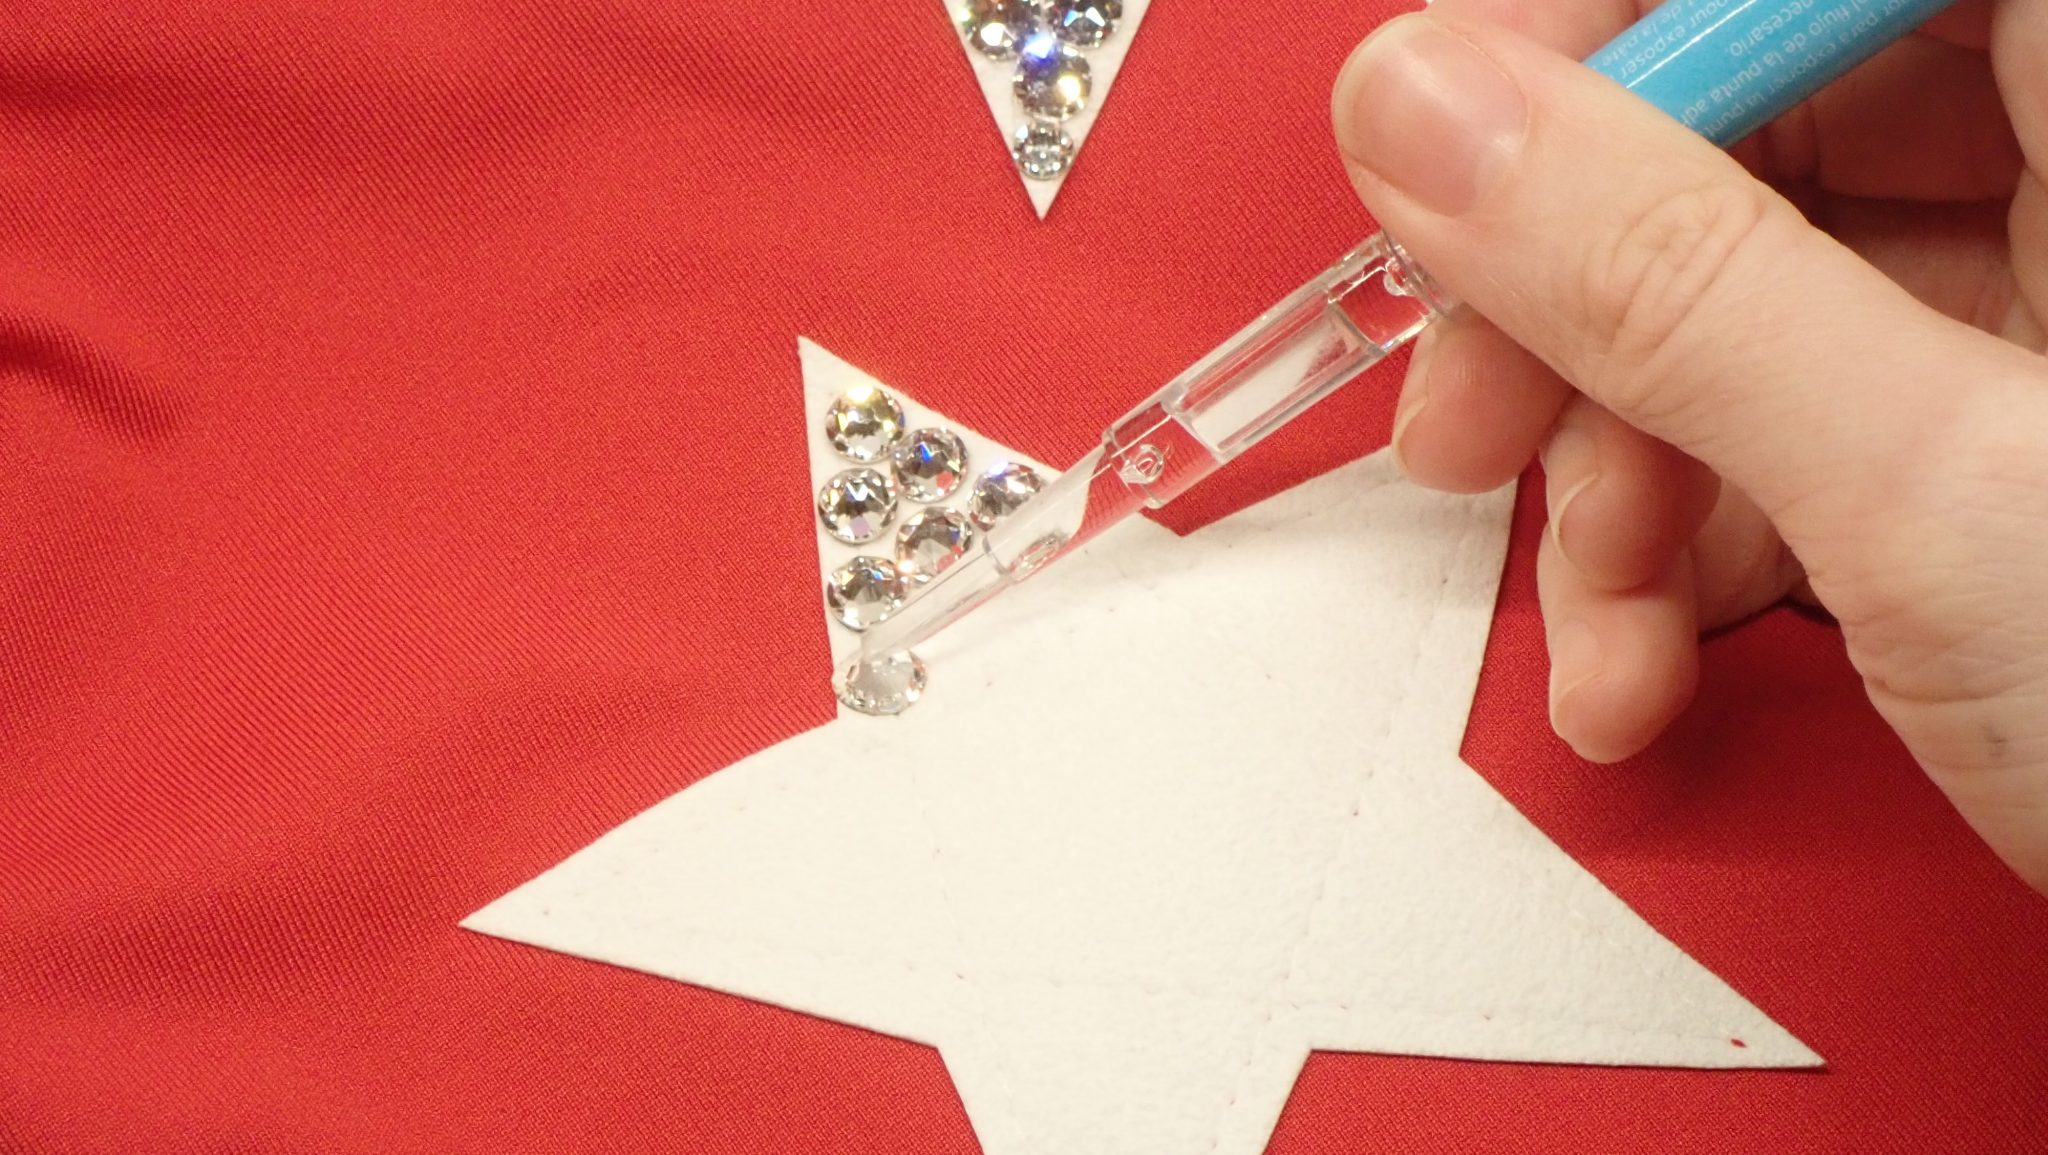
Finally, the jewel pick up tool! The tool I linked below is fabulous because it’s several tools in one. It has the pick-up/clay tipped end for picking up crystals. To get the clay to flow out, just gently twist the tip of the pen to get it flowing, then twist back in the opposite direction to stop the flow. These instructions are written (though VERY easy to miss) on the outside of the pen. Then when you look at the other end, you can pull the bevel edge tip out of the pen to reveal a blunt tip and a little slot in between the two that you could use for a key to press glue out of the tube if you have a small enough bottle of E6000.
Supplies to Add Crystals to Horse Show Clothes
Note: We’ll receive commissions for purchases made through the Amazon links in this supplies list.
- Shirt to decorate
- E6000 Glue
- Syringes with 14 gauge blunt tip needles
- Flatback Rhinestones
- Silhouette Pick-Me-Up Jewel Tool/Setter
- Paper towel
- Mousepad with rubber grip back (optional)
- Glue respirator (optional)
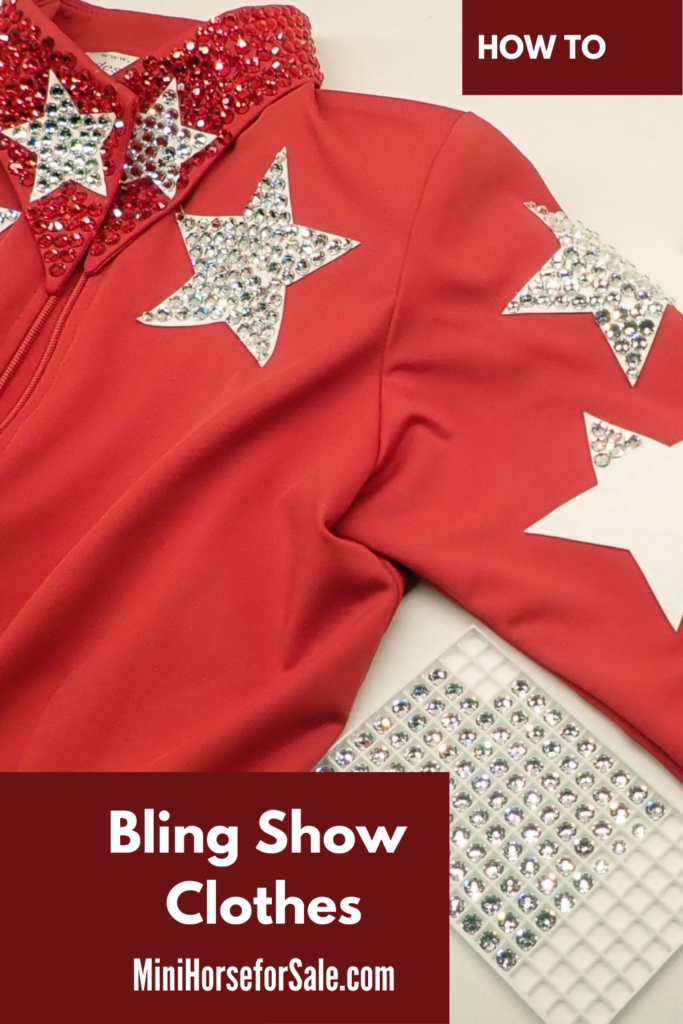
Instructions to Bling Show Clothes
- If your stones aren’t already face-up, pour them out on the back of a mousepad. Gently run your hand over the top of them to get them to all flip right side up. This is much faster than doing it individually by hand!
- Plan out where you want to put what. If you need to, lay some of the crystals out to get an idea of the sizes and look so you know where to apply the glue and how to space it out. Also, think about your breed and event before you begin! For example, I show miniature horses, so I’ll typically wear shirts with a number clip that hangs from my collar. Because of that, I left a gap in the crystals on the collar so the clip has a comfortable spot to go.
- The E6000 glue is toxic, so make sure you’re either in a well-ventilated area or wearing some sort of filtering protection! Trust me, this stuff is STRONG.
- Twist or press (depending on the type) your needle onto the syringe and insert some glue into the syringe from the opposite, wide-open end. Start with just a bit! A little can last a long time, and you don’t want to leave the glue sitting in the syringe when you’re ready to stop for the day.
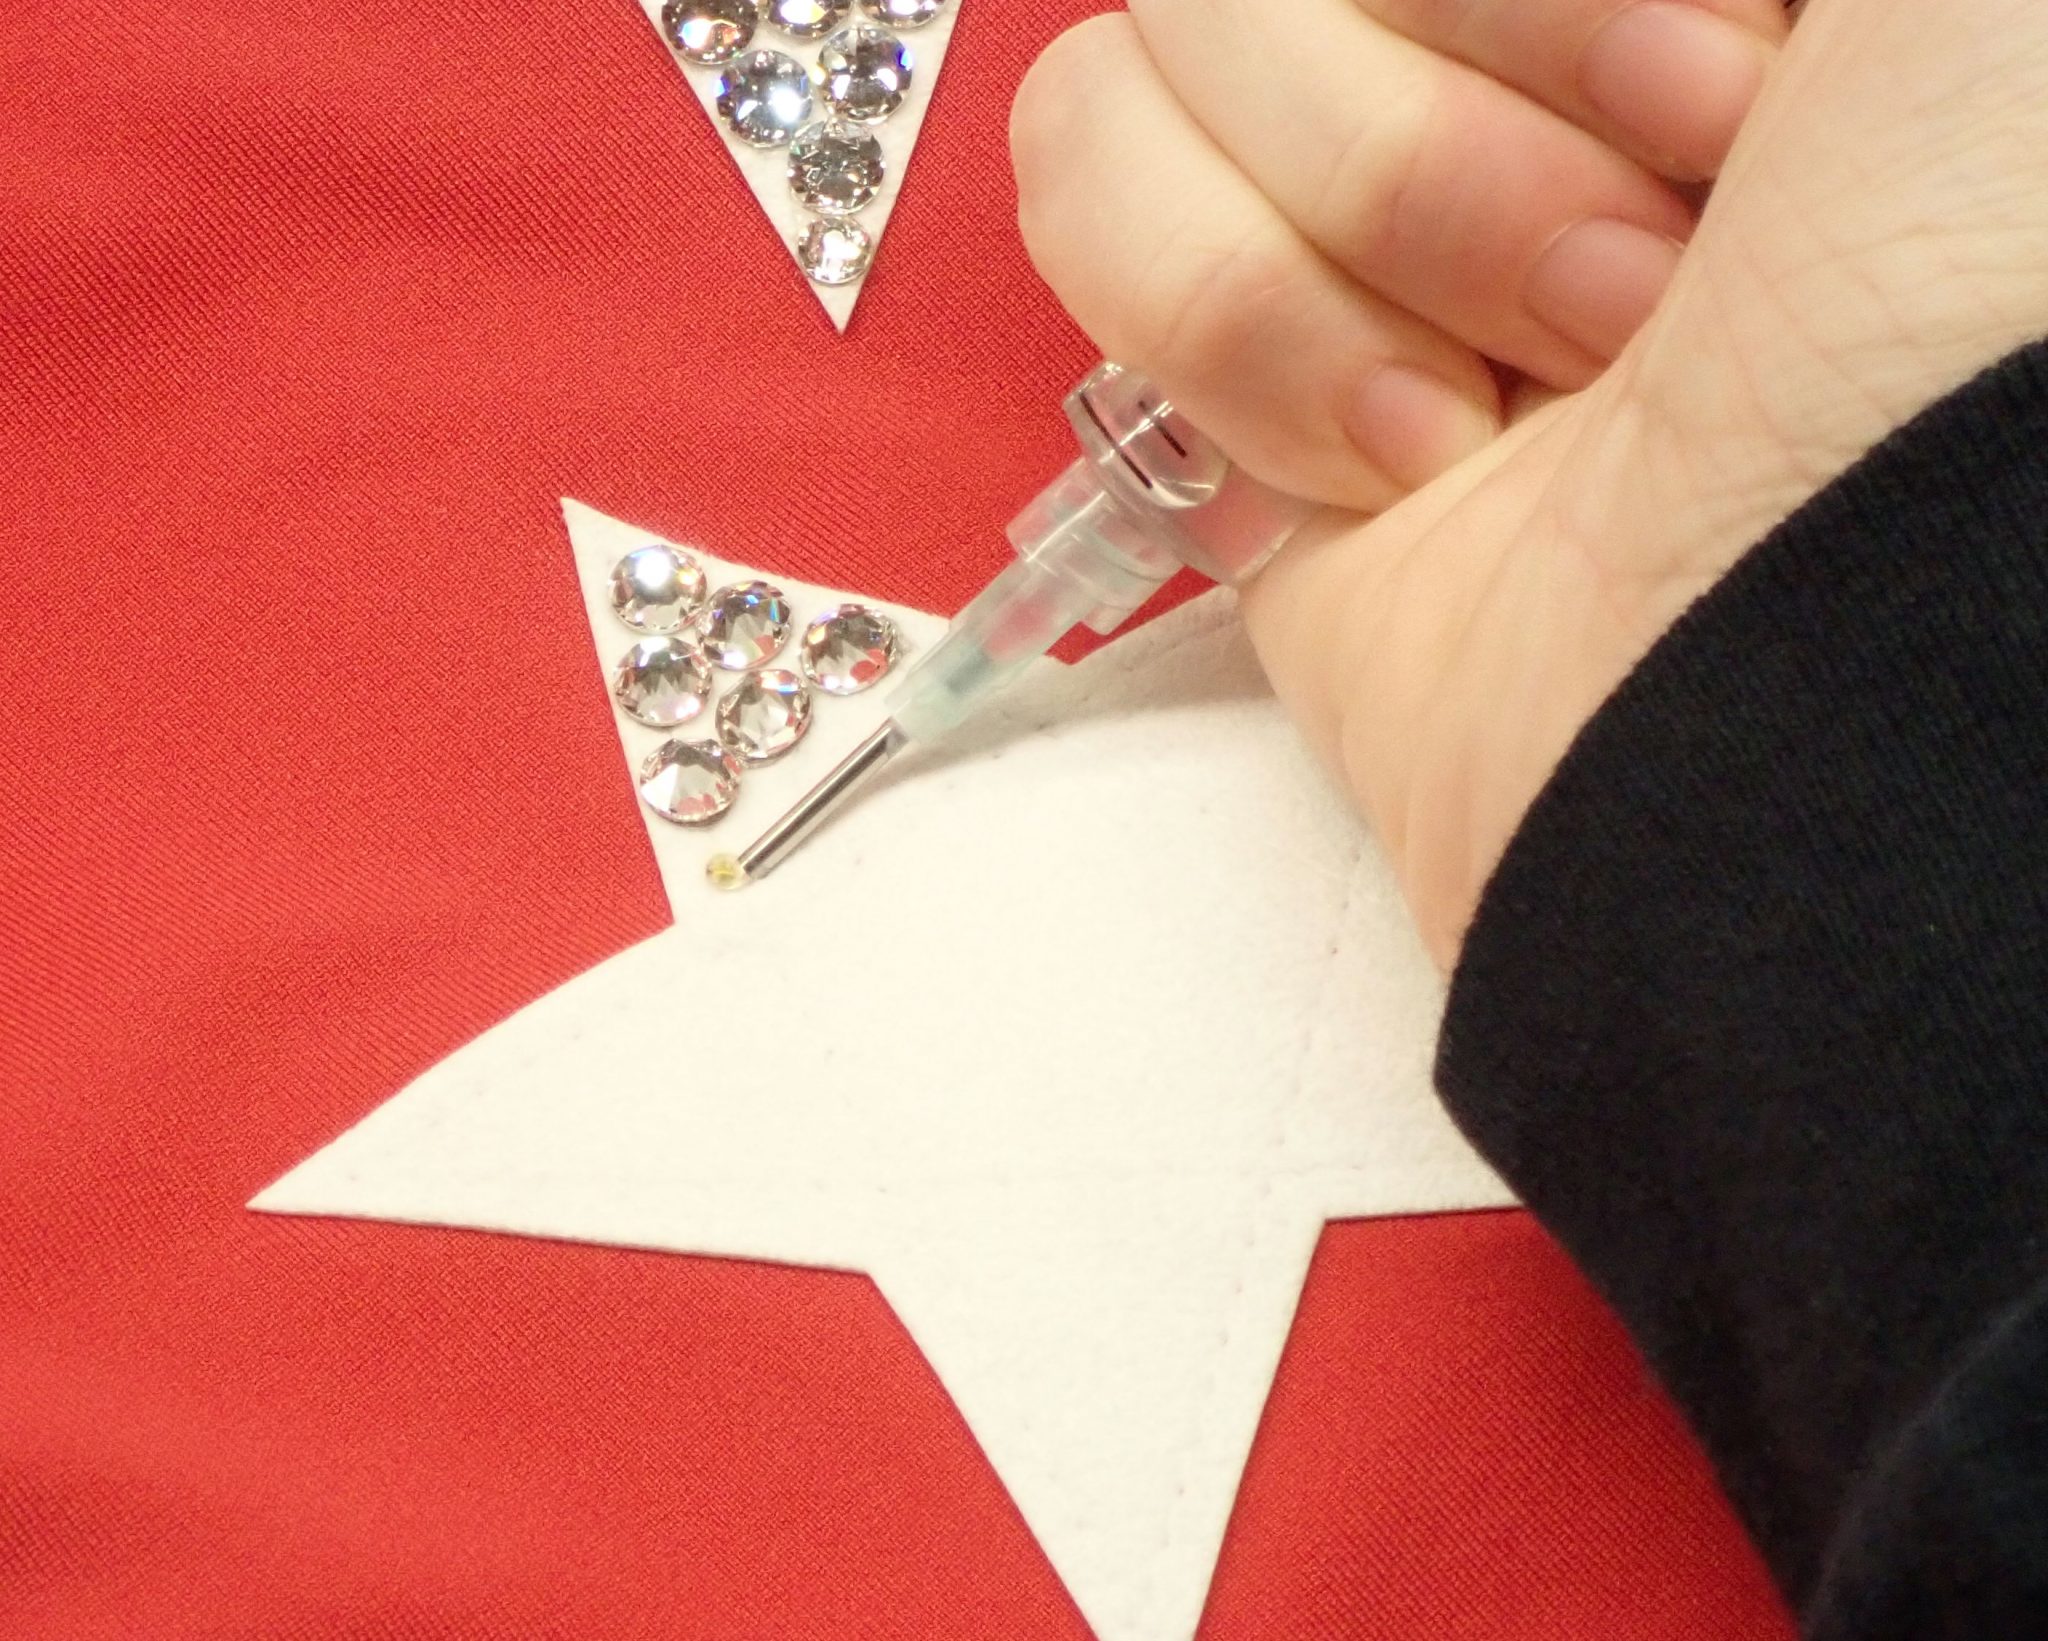
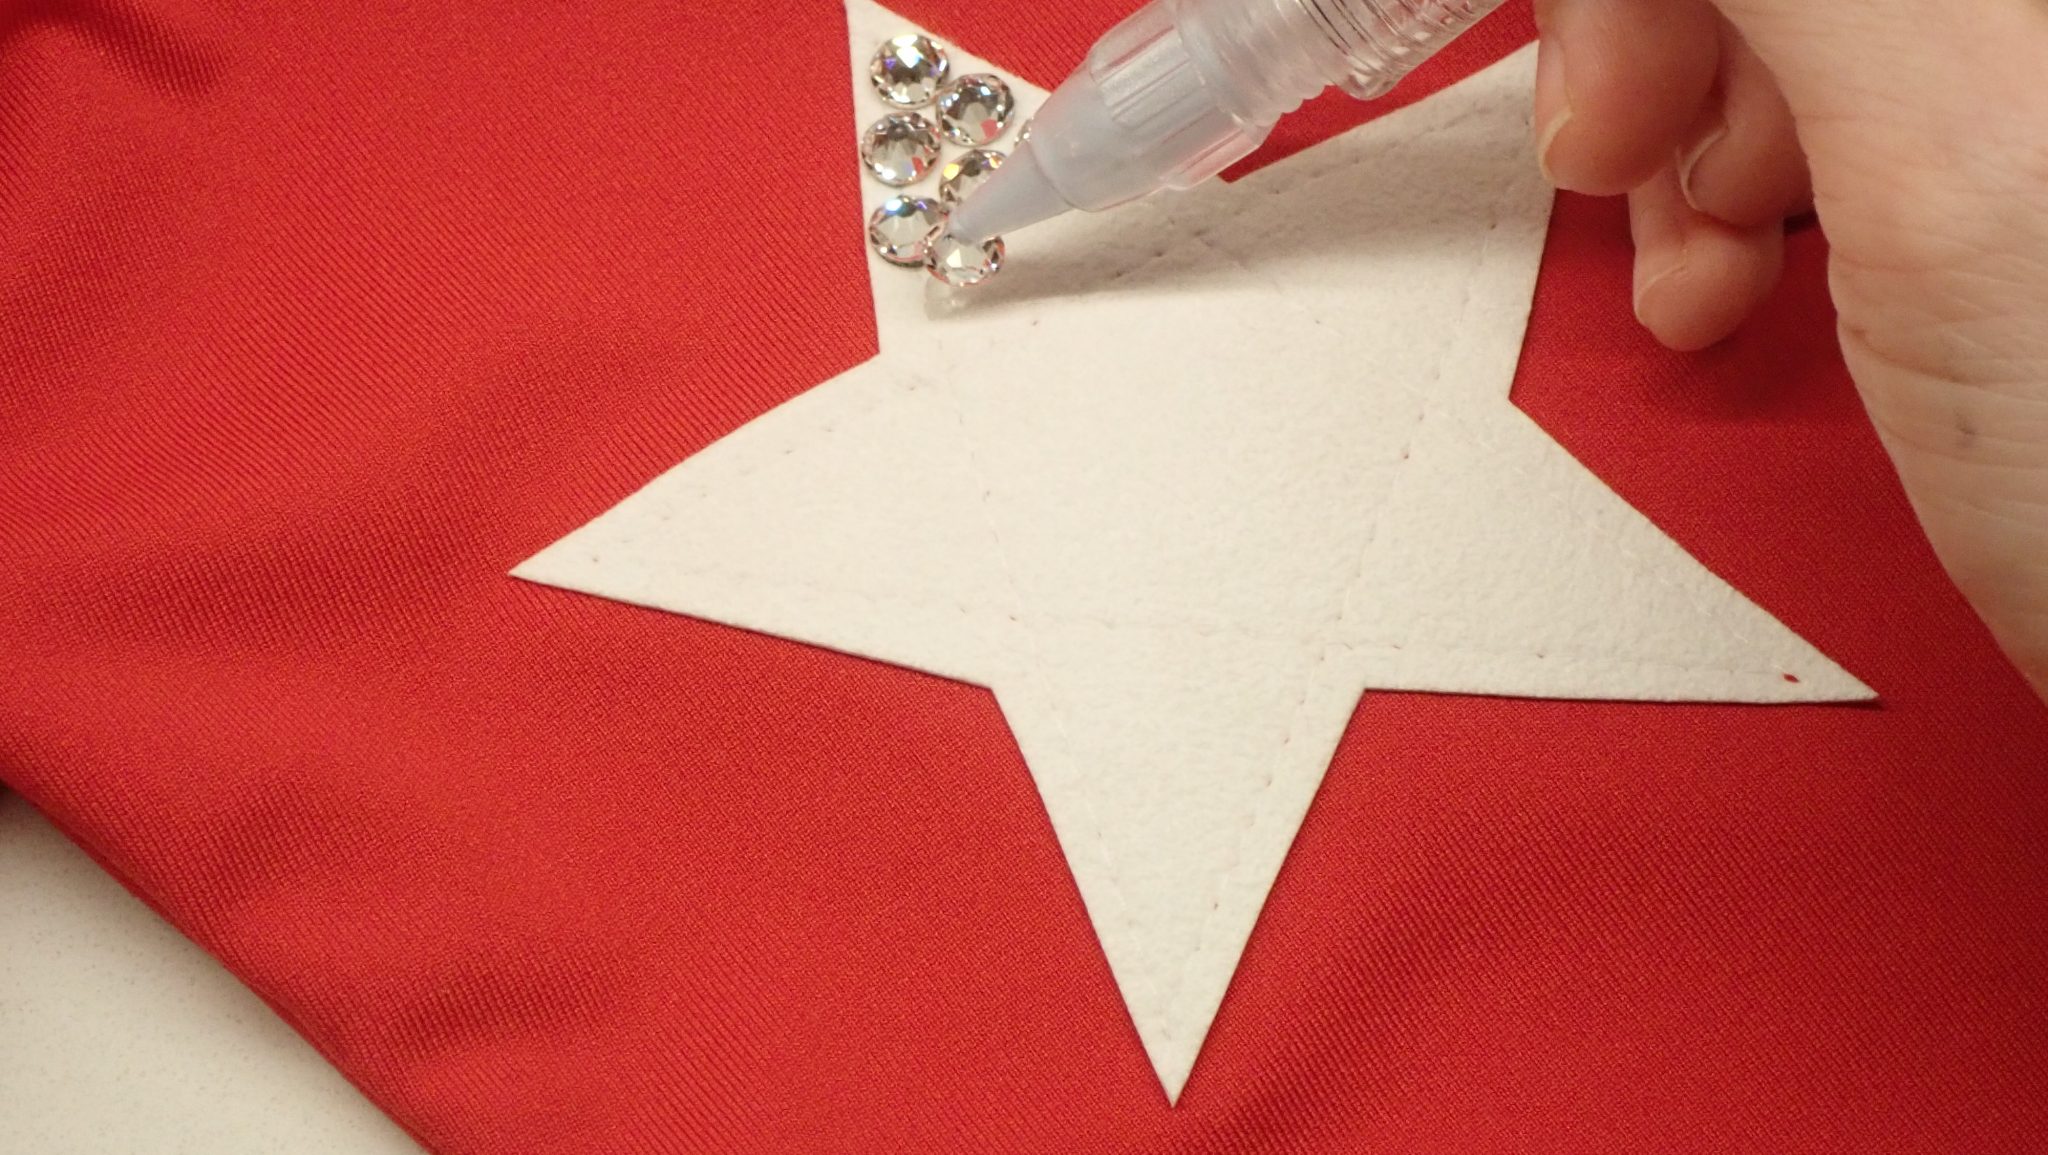
- Gently press down on the plunger of the syringe to get the glue flowing. Apply small dots of glue where you want to apply crystals, keeping them smaller than the crystal size you’re using since the glue will spread under the flatback. Be sure to leave enough room in between the glue dots so there’s space for the crystals to fully sit on the fabric and glue instead of on each other. E6000 can be very stringy if you’re not careful and it gets on the stones and is hard to remove, so press/drag the needle gently on the fabric before moving to the next dot to cleanly move. When you’re ready to stop, gently pull back on the plunger to bring the glue back into the tube.
- Use the paper towel to wipe off the tip of the needle as necessary–the glue will dry and build up the longer you go.
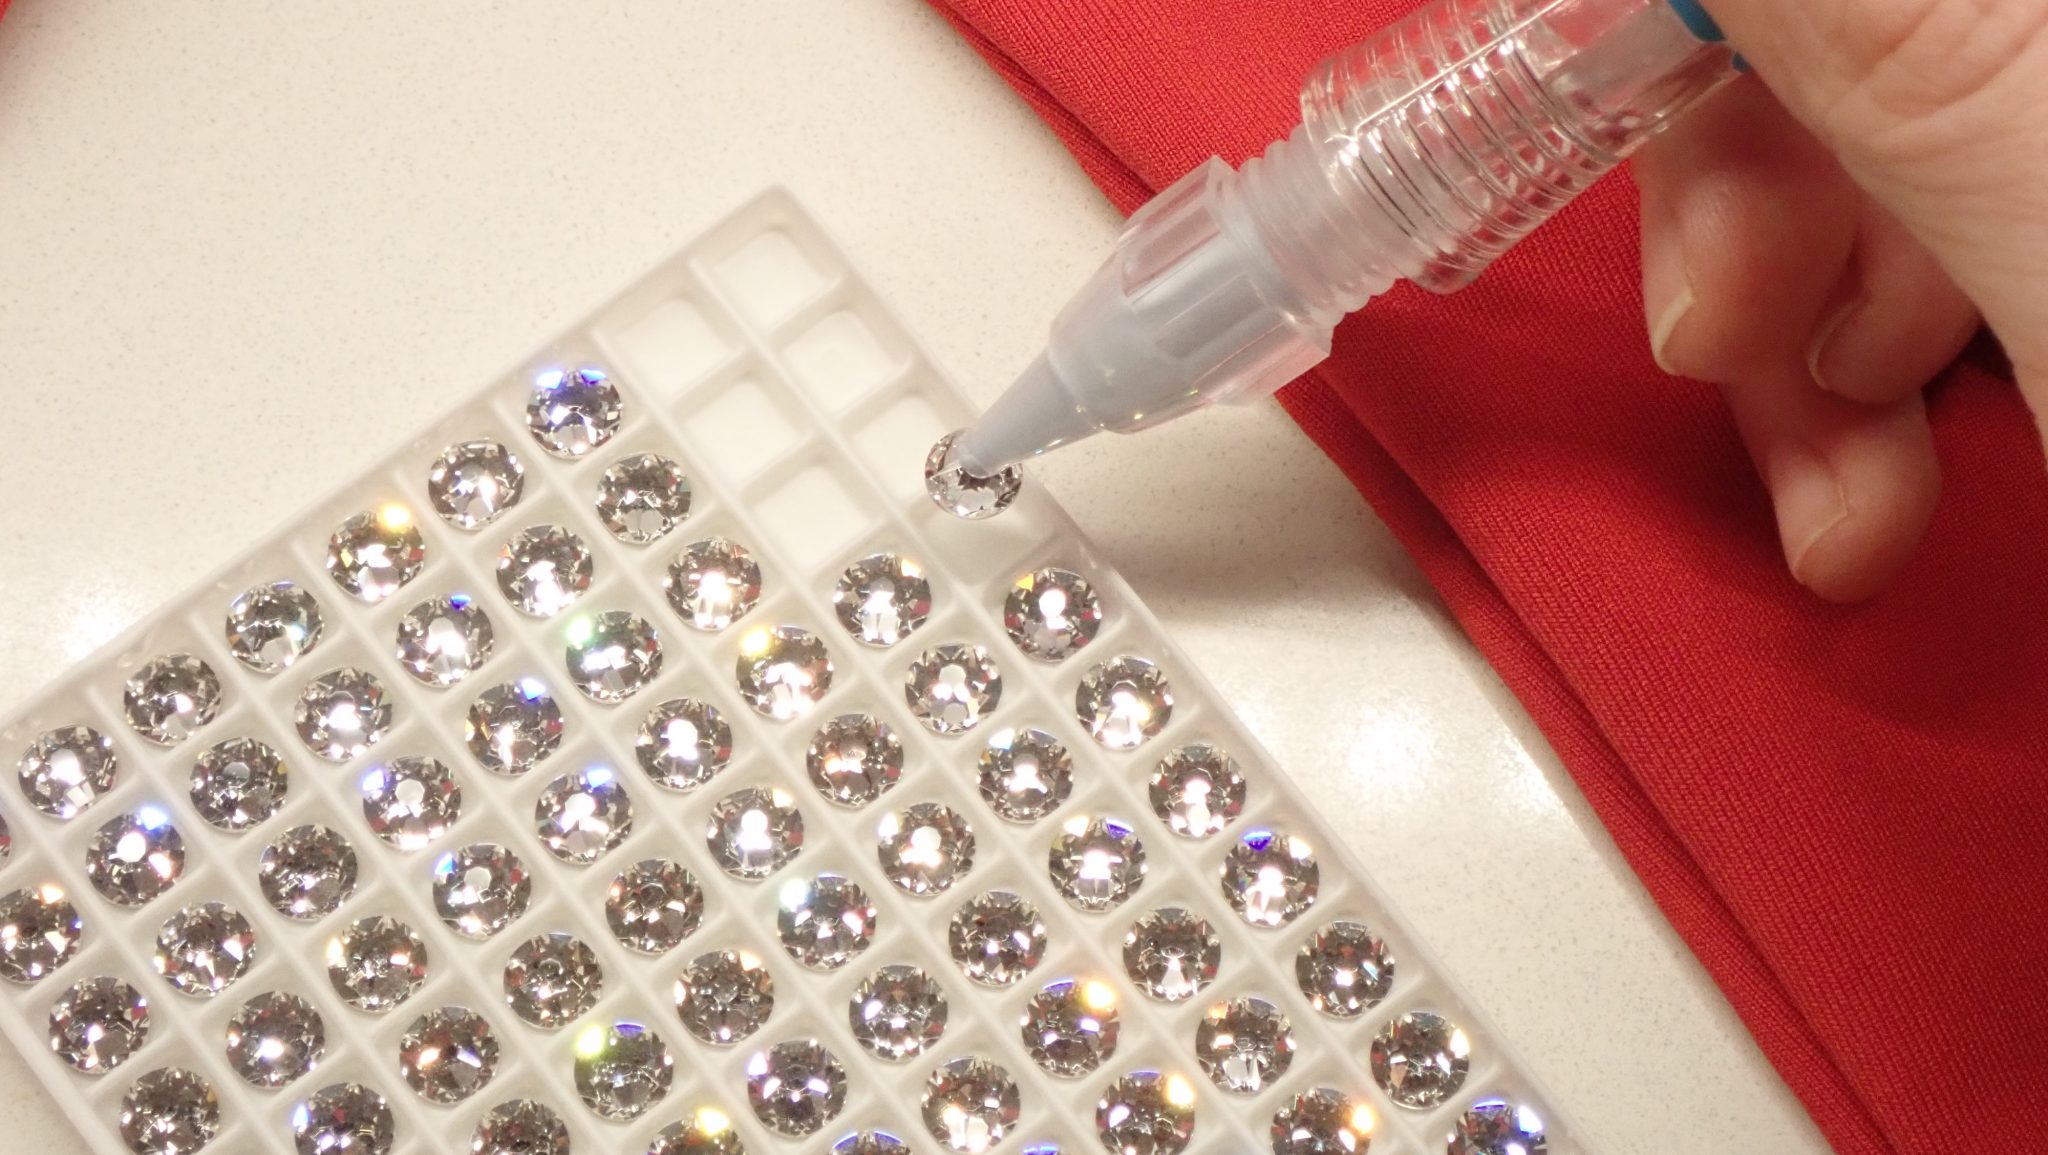
- Take the jewel pick up tool and gently touch the top of the crystal you want to pick it up, then touch to the glue. Don’t worry about pushing it too firmly into the glue–just touch enough that the glue pulls the crystal off of the tool. I’ll sometimes twist or roll the tip off of the stone as sometimes coming straight up just pulls it back off of the glue.
- Once you’re done covering up the glue dots, you can use the beveled or pointy end of the setter tool (you can pull that end out to reveal both types of ends) to firmly press the crystals into the glue or adjust it as necessary.
- Repeat until you’re done! Then clean out your syringe. I use up all the glue in the syringe, then use water and a safety pin to clean out the syringe and needle. You can get lots of uses out of a single syringe if you do a good job of cleaning it. I recommend leaving a safety pin through the needle until you’re ready to use it again., then leave the safety pin through the needle until you’re ready to use it again.
There you have it! Now you know how to bling show clothes. Now go get busy!