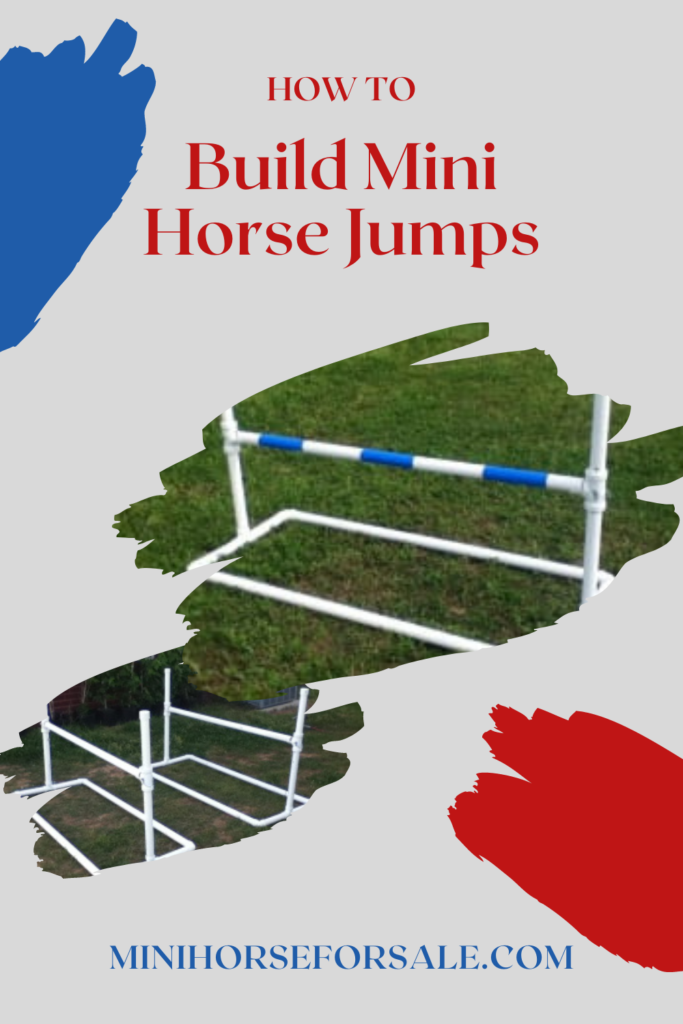
We have several types of jumps in our arena that we use with our geldings, and have decided to write a tutorial on how to build mini horse jumps! 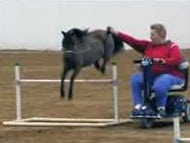 These directions are for jumps that are frequently used at AMHA shows. The AMHA rulebook gives the option to use 1-1.5″ diameter, PVC pipe; we use 1.5″ and I wouldn’t go any lighter. Here is what the rulebook says:
“Jumps for Hunters and Jumpers will be made of 1-1 1/2″ schedule 40 PVC piping or other suitable light-weight material with jump cups, not to include pegs, nails, bolts, etc. All jumps must be a minimum of five (5) feet wide… Jumps thirty-two inches (32) or more in height must have a second rail added. All post and rail jumps must have a ground pole. Uprights are to be a maximum of forty-eight (48) inches in height. …Any decorations or jump wings must not protrude more than twenty-four (24) inches from the uprights.”

Supplies
- ??— 10′ length of Schedule 40, 1.5″ diameter PVC pipe (Use the underlined totals in the directions to calculate how many 10′ lengths you will need according to how many jumps you want to make, and which height of uprights you want–hunter and/or jumper.)
Tools for building miniature horse jumps - 2-4 — 1.5″ PVC caps (2 for hunter uprights, 2 for jumper uprights)
- 2– 1.5″ PVC T connectors
- 2-6– 2″ PVC T connectors (For jump cups. 2 for hunter uprights, 4 for jumper uprights because jumps over 32″ in height must have a second pole added to keep horses from running under.. trust me, I had it happen at a show once when the rule wasn’t followed! I like to have a cup/D-ring on both sets of uprights so I don’t have to change them out when I switch from hunter to jumper)
- 4– 1.5″ PVC Elbow connectors
- 2-6– D-rings (To hold jump cups. 2 for hunter uprights, 4 for jumper uprights. I like
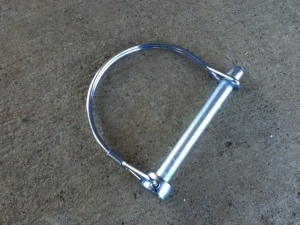 to have a cup/D-ring on both sets of uprights so I don’t have to change them out when I switch from hunter to jumper)
 - 12– 1″ Sheet metal screws
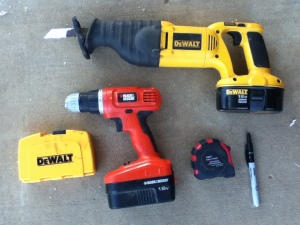
- Saw
- Drill and bits
- Screwdriver
Directions to Build Mini Horse Jumps
- Cut the 1.5″ diameter PVC into the following lengths:
- Long side of base and jump pole length: 5′ (x3 for hunter, x4 for jumper) = (15′ of PVC used for only hunter, 20′ if doing jumper for an extra jump pole)
- Short side of base length: 10″ (x4) = 40″= (3.33′ of PVC used)
- Jumper uprights: 4′ (x2) = (8′ of PVC used)
- Hunter uprights: 3′ (x2) = (6′ of PVC used)
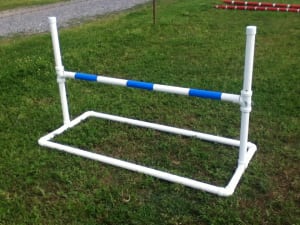
2. Now it’s time to assemble the base! Attach one 10″ piece to each of the two opposite ends of the T (x2) to form the sides of the base.
3. Attach the elbows to the open ends of the 10″ pieces that are attached to the T (x4), with the open end of the T facing straight up so the uprights can go in later.
4. Use two of the 5′ lengths to attach the two ends of the base and complete the rectangular base.
5. Place the uprights in the T on the jump. Put a cap on the top of each jumper or hunter upright pole.
7. Use your measuring tape to mark where you will drill holes on the uprights:
- Hunter: By AMHA rules, hunter jumps have a minimum jump pole height of 18 inches and maximum of 28 inches, so I recommend starting with a hole at 18 inches, and ending at 28.
- Jumper: By AMHA rules, jumper jumps have a maximum jump pole height of 44 inches, so you don’t need holes past 44 inches from the ground.
8. Time to drill holes for the uprights! Grab a bit that’s bigger than the peg of the D-ring you’ll be using. It’s hard to get the holes aligned perfectly through the upright and through the cup later, so you’ll want some wiggle room. Get them as straight through both sides of the pvc as you can.
9. Now onto the jump cups. Take your oversized Ts and cut out a little more than half of the section that branches out (see below). You want it to be a little over half gone so it makes it easier for the jump pole to fall down. That way your jump doesn’t get broken when a horse hits it! Then drill a hole through both sides for the D-ring to go through.

10. To keep the base together, I recommend that you use sheet metal screws. You DON’T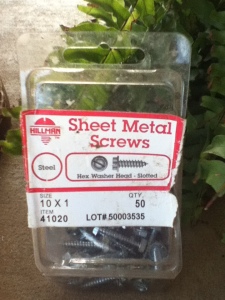 want to use PVC glue, because if any piece gets broken, you’ll have to cut it off and splice it together. With the screws, everything stays together but if something gets broken, you can take it off without cutting. We use screws at every connection point on the base except where the uprights go in.


11. The final step is to put the jump cups on the up uprights, pins in, and adjust the length of your jump poles. For measuring everything out, it’s easiest to use 5′ for jump poles, but for them to fall out of the jump easily, they need a few more inches taken off. Just put the poles in the cups and see how much you want taken off, it should be at least two inches.

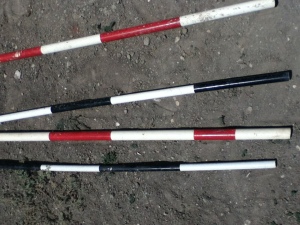
12. Congratulations! You’re now finished and can enjoy your jumps! To learn how to make striped jump poles, visit our other blog post, How to: Paint Obstacle/Jump Poles.